Quick answer
To light a moxa stick safely, prepare the room first, hold the stick over a tray, ignite only the tip, rotate until the end glows evenly, and keep extinguishing tools within reach before the session begins.
Key takeaways
- Set up ventilation, an ash-catching tray, and an extinguisher before you touch the lighter.
- A properly lit moxa stick should have a small, even glow rather than a large open flame.
- If the stick smells damp, sheds ash unpredictably, or makes the room hard to tolerate, stop and reset the setup.
If you are learning home moxa, lighting the stick is the first moment when a product becomes a real heat-and-ash tool. The safest approach is simple: prepare the space first, light only the tip, rotate until the ember looks even, and avoid treating a large flame or heavy smoke as normal.
This guide is educational. It does not replace product instructions, fire-safety common sense, or medical advice.
Before you light anything
Most beginner problems start before the flame appears. A moxa stick should be lit in a tidy area with a clear surface, open-air flow, and a place for ash to fall safely.
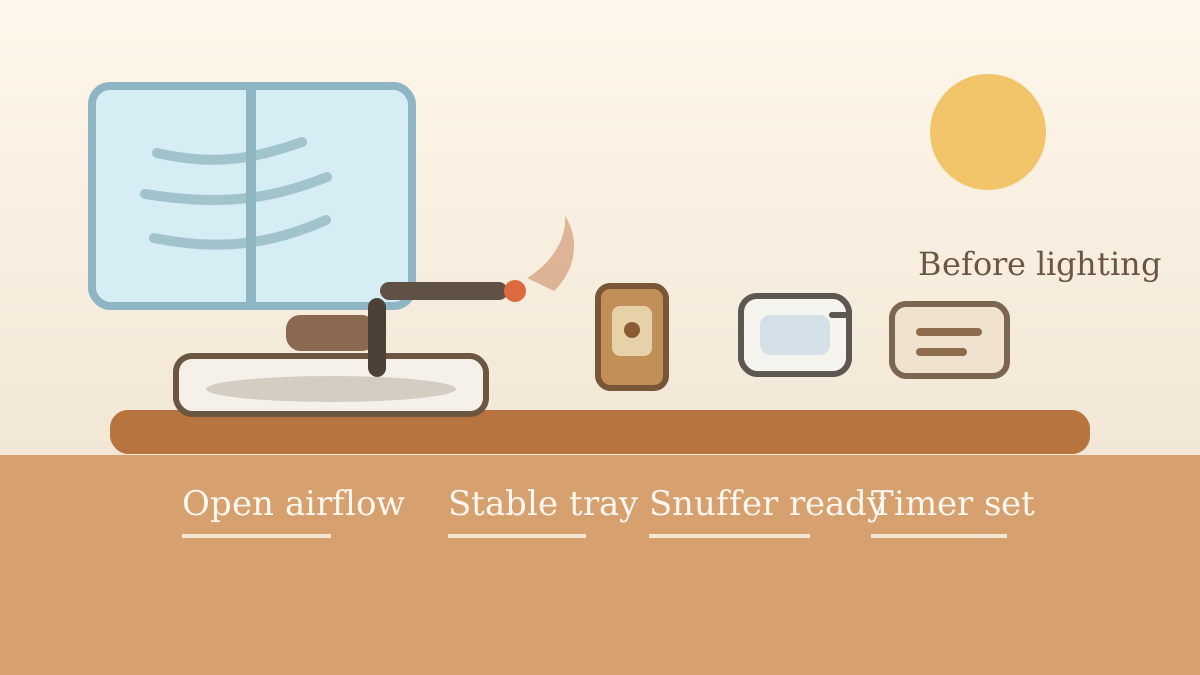
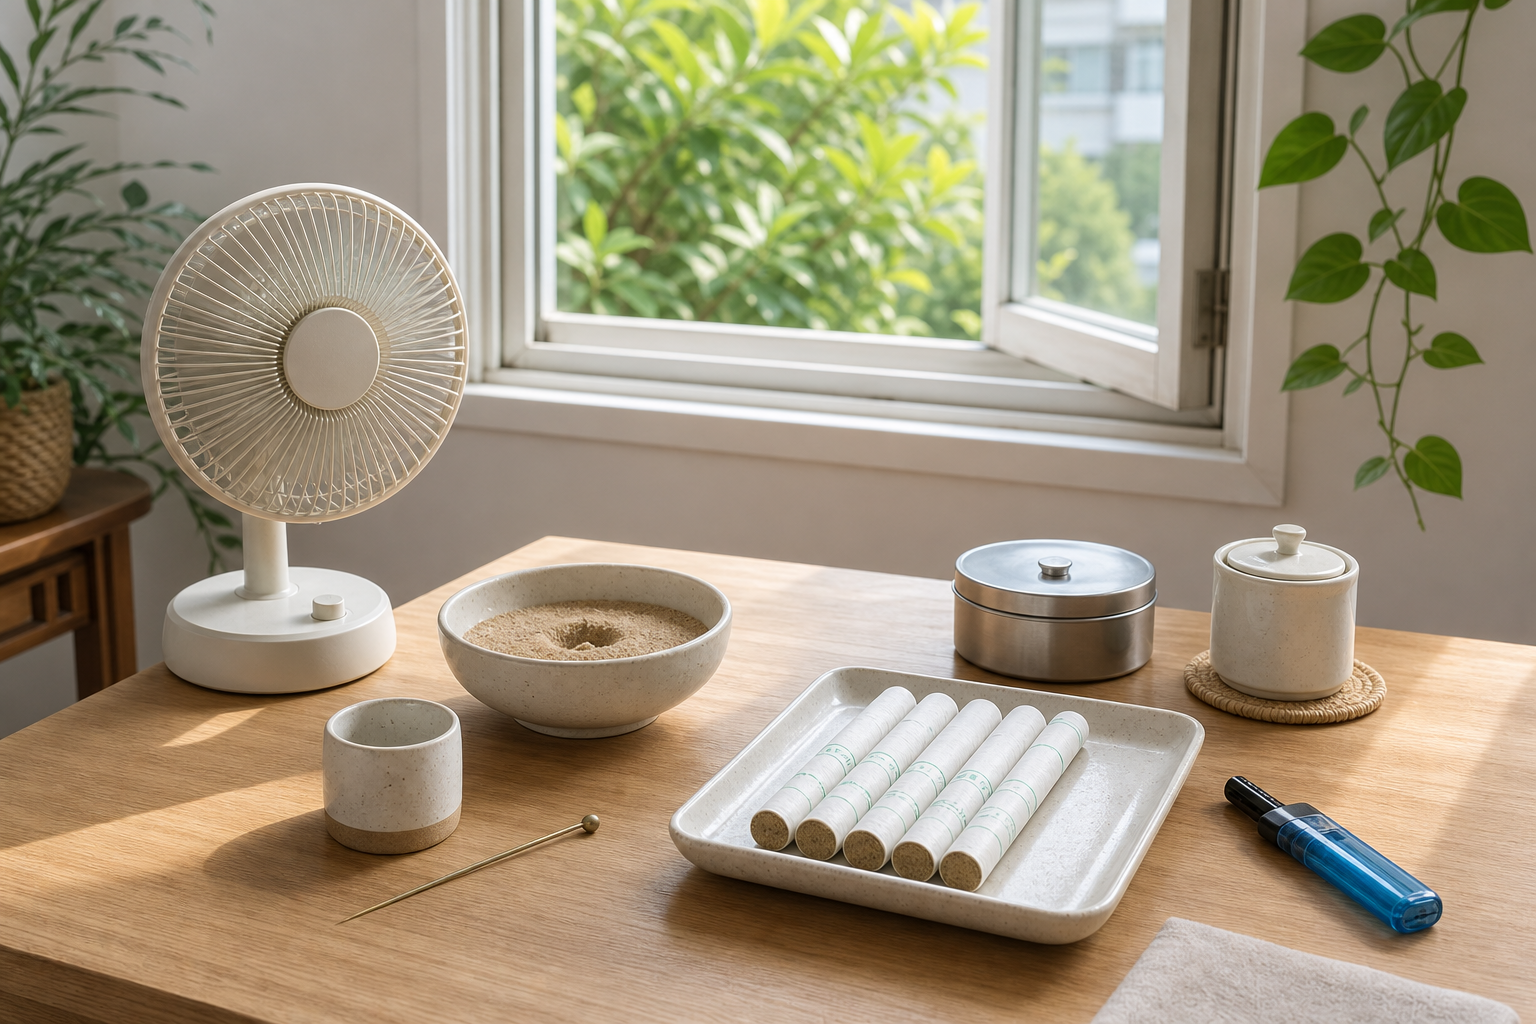
Before you begin, set out:
- the moxa stick,
- a lighter or candle,
- a ceramic or metal tray,
- a snuffer cup, sand bowl, or other safe extinguisher,
- a ventilated room with an open window if possible.
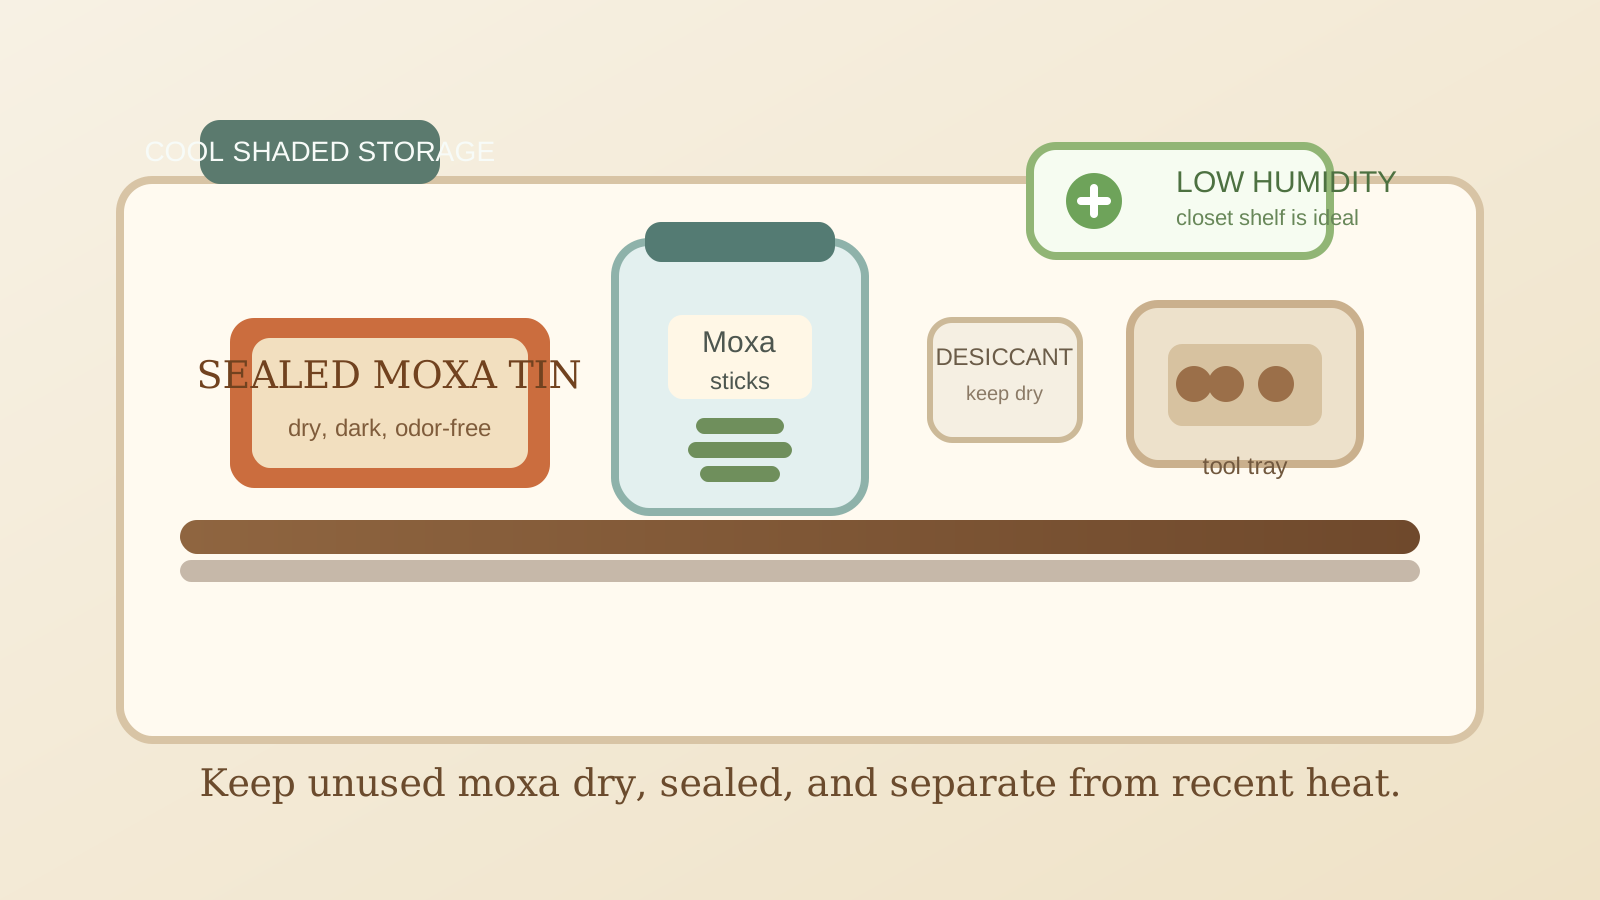
Keep paper, towels, bedding, aerosol sprays, loose sleeves, pets, and children away from the lighting area. If the stick smells musty, looks damp, or seems damaged, do not force the session. Poor storage can make ignition harder and handling less predictable.
For a full setup review, read how to use moxa sticks at home and moxibustion safety basics.
Step by step: how to light a moxa stick
The goal is not a dramatic flame. The goal is a small, steady ember at the end of the stick.
- Open the room and place the tray below the stick before striking the lighter.
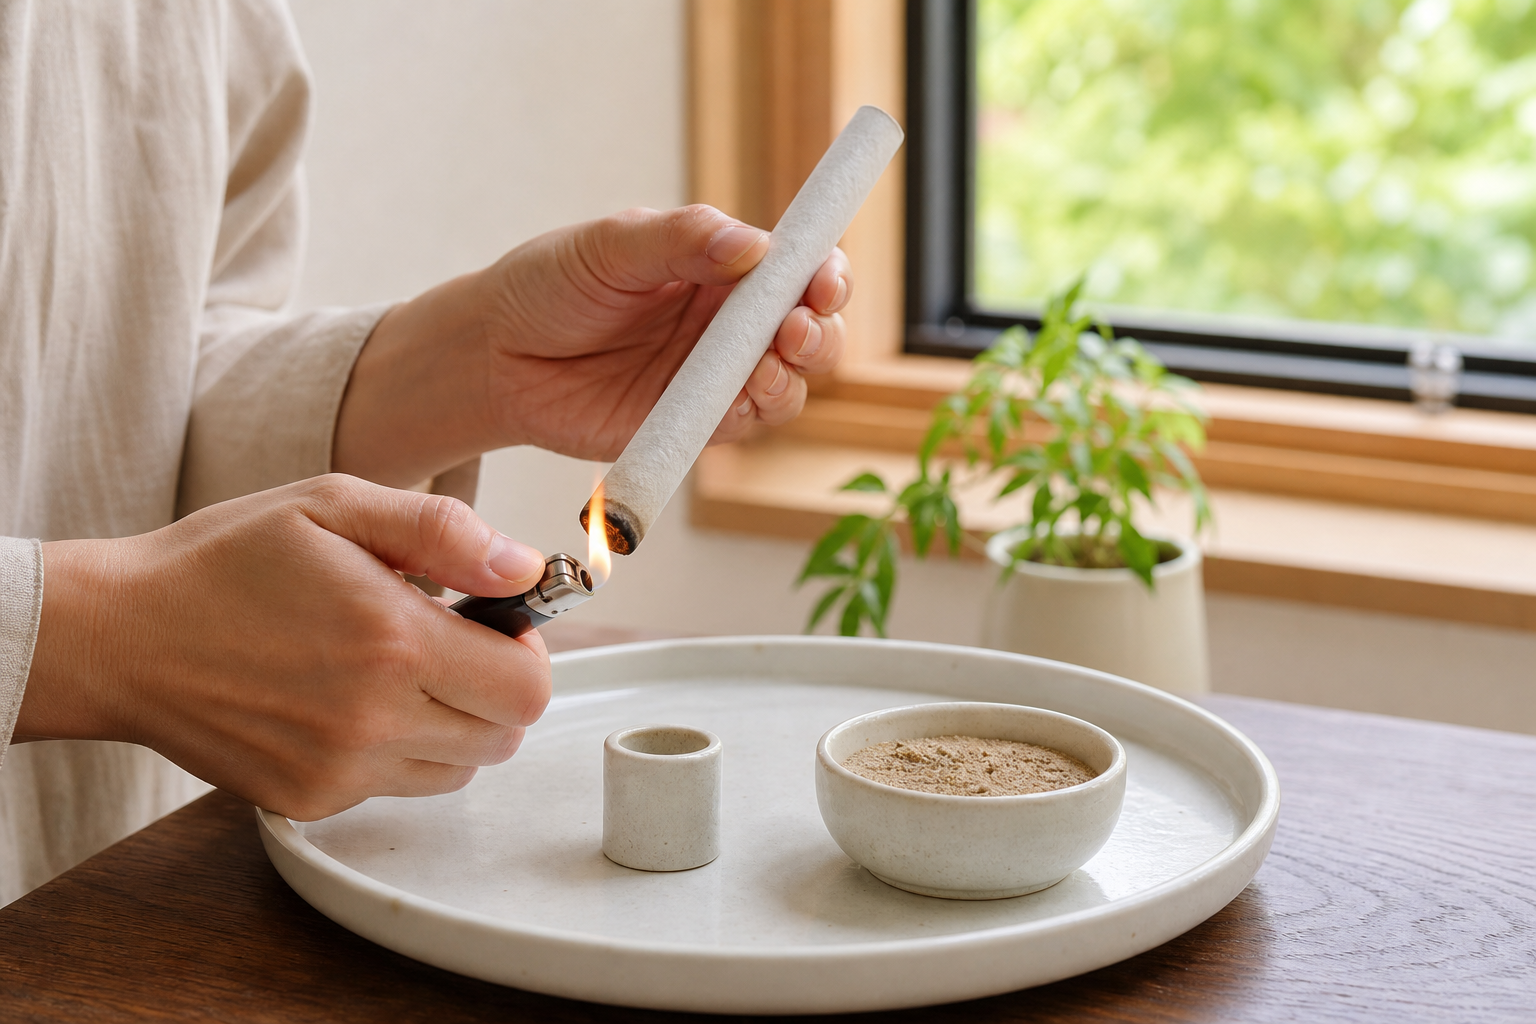
- Hold the moxa stick over the tray, angled slightly downward so loose ash stays over the safe surface.
- Bring the flame to the tip only, not halfway down the wrapper.
- Rotate the stick slowly so the edge of the tip catches more evenly.
- Wait for the end to begin glowing across most of the surface.
- If a larger flame appears, let the tip catch and then allow the stick to settle into a glowing ember.
- Check that the end looks evenly lit before moving into use.
Beginners often rush this step and start using the stick while only one small corner is lit. That can make the burn uneven, increase crumbling, and force repeated relighting.
What a properly lit tip should look like
A ready moxa stick usually shows a warm orange-red glow with a light ring of ash forming around the edge. It should look controlled, not explosive.
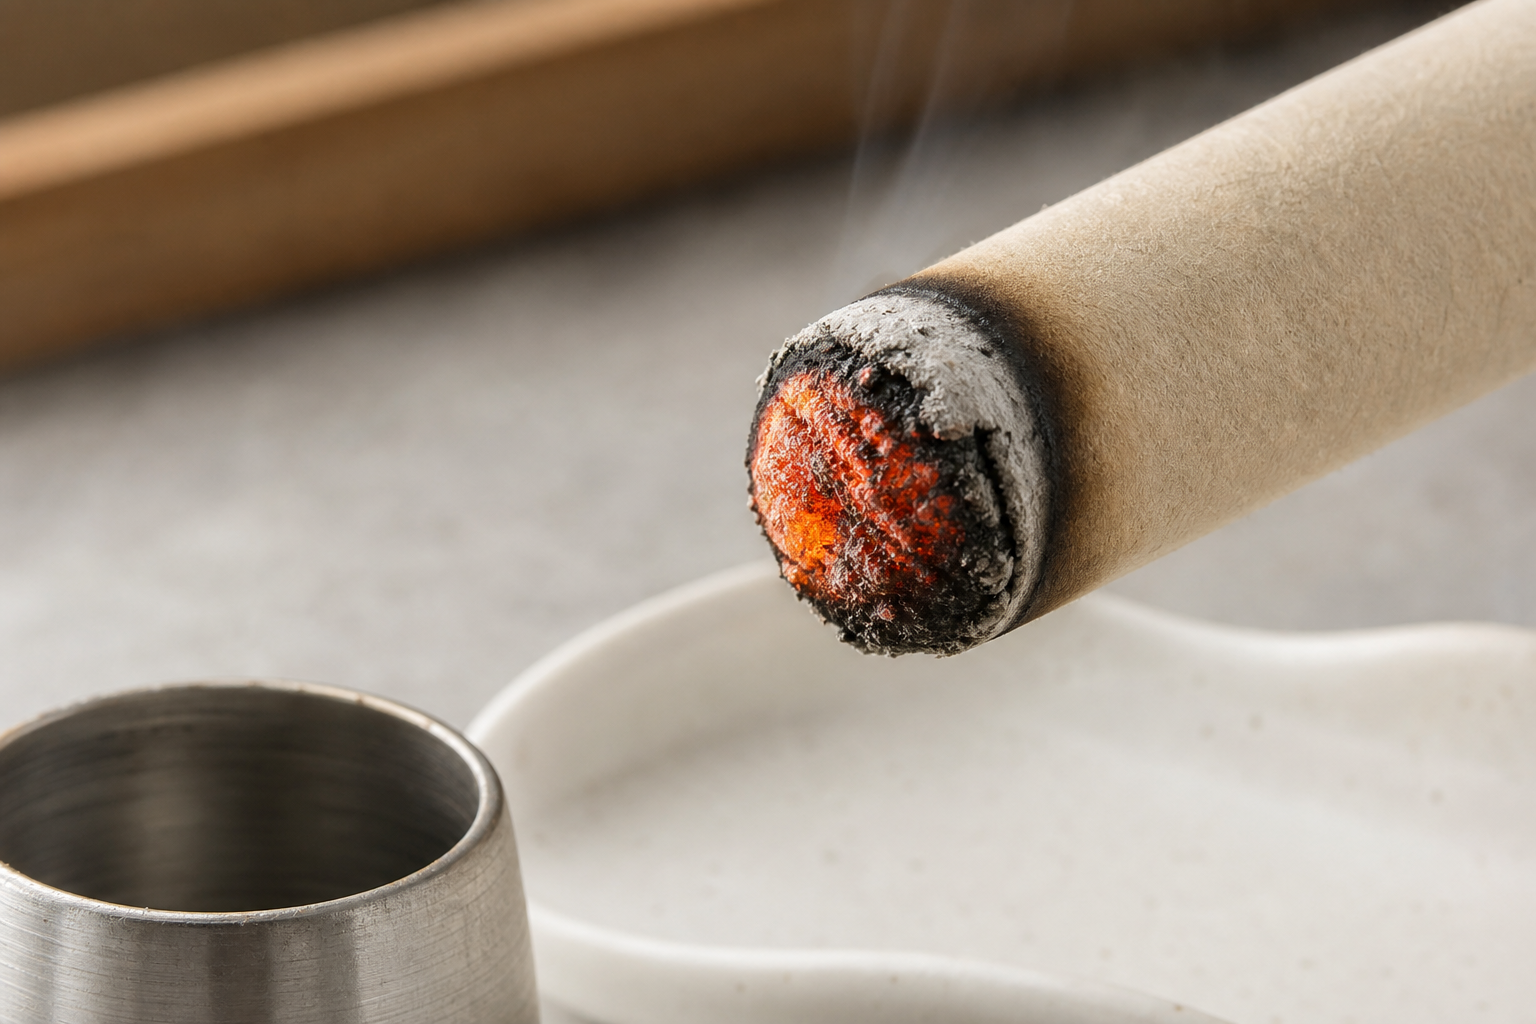
Different products burn a little differently, especially traditional versus smokeless formats, but the beginner rule stays the same: you are looking for even glow, manageable smoke, and ash that stays controlled over the tray.
Common lighting mistakes
The most common mistakes are practical, not mysterious:
- lighting the stick before opening the room,
- igniting too much of the wrapper,
- holding the stick away from the tray while ash begins to form,
- trying to keep a large flame because it looks “more active,”
- continuing with a damp or crumbling stick instead of stopping.
If the stick keeps going out, do not keep feeding it more flame without checking the cause. Uneven packing, moisture, awkward airflow, or poor product condition can all make ignition frustrating.
When to stop and reset the setup
Stop and reassess if:
- the room becomes irritatingly smoky while you are still lighting the stick,
- ash falls unpredictably,
- the wrapper chars too far down the side,
- the smell seems chemical, moldy, or unusually harsh,
- you do not yet have a clear way to extinguish the stick.
These are setup problems, not signals to push harder. A short pause is safer than trying to rescue a messy lighting attempt in real time.
After the stick is lit
Once the ember looks even, move into the session slowly. Start farther from the skin than you think you need to, and keep checking comfort rather than chasing stronger heat. If you need a refresher on active use, see how to reduce moxa smoke at home and after moxibustion care.
The key beginner idea is simple: lighting is part of the safety routine, not a separate minor step. If the lighting process already feels messy, smoky, or rushed, the session probably should not continue.
Sources and further reading
- U.S. Environmental Protection Agency: Indoor Pollutants and Sources
- U.S. Environmental Protection Agency: Indoor Air Quality
- NCCIH: Traditional Chinese Medicine: What You Need To Know
- PubMed: Safety of moxibustion: a systematic review of case reports
Common questions
Should a moxa stick have a big flame when you light it?
No. The goal is to create an even glowing tip. If a larger flame appears briefly, let the end catch and then calm it so the stick burns as a controlled ember rather than an open flame.
Can I use a regular lighter to light a moxa stick?
Yes, many beginners use a simple lighter or candle. The safer point is not the tool itself but whether you are lighting the tip over a stable tray with ventilation and a clear way to extinguish the stick.
Why does my moxa stick keep going out?
A stick may go out if it is damp, too loosely packed, not lit evenly across the tip, or exposed to awkward airflow. Let the tip catch more evenly, then check storage and product condition if the problem continues.