Quick answer
The best way to reduce moxa smoke is to plan airflow before lighting the stick, keep sessions modest, control ash carefully, and avoid treating smokeless products as completely smoke-free.
Key takeaways
- Ventilation matters more than any single accessory, so airflow should be planned before a moxa session starts.
- Shorter sessions, smaller tools, and prompt ash handling usually reduce smoke more effectively than trying to overpower it afterward.
- If smoke causes coughing, eye irritation, dizziness, or breathing discomfort, stop and reassess whether home moxa suits the space.
If you want to reduce moxa smoke at home, the most effective approach is not a miracle accessory. It is a better setup: give smoke a clear path out of the room, keep the session modest, manage ash immediately, and stop before the air feels heavy.
That practical mindset matters because moxa is burned plant material. Even when people value the traditional warmth and smell, smoke still interacts with room size, ventilation, fabrics, and individual sensitivity.
What actually reduces moxa smoke?
Beginners often look for one product that will make smoke disappear. In reality, smoke reduction usually comes from combining several modest choices:
- more fresh-air exchange,
- less total burn time,
- steadier ash control,
- realistic expectations about so-called smokeless products,
- a room that can clear air quickly after the session.
That is consistent with general indoor-air guidance: particles and combustion byproducts are easier to manage when the source is limited and the space is ventilated well. Moxa may be traditional, but the room physics are ordinary.
Start with the room, not the stick
The room determines how quickly smoke builds up. A small closed bedroom, fabric-heavy corner, or windowless bathroom is usually harder to manage than a living room with an openable window and a second air path.
Before lighting anything, check:
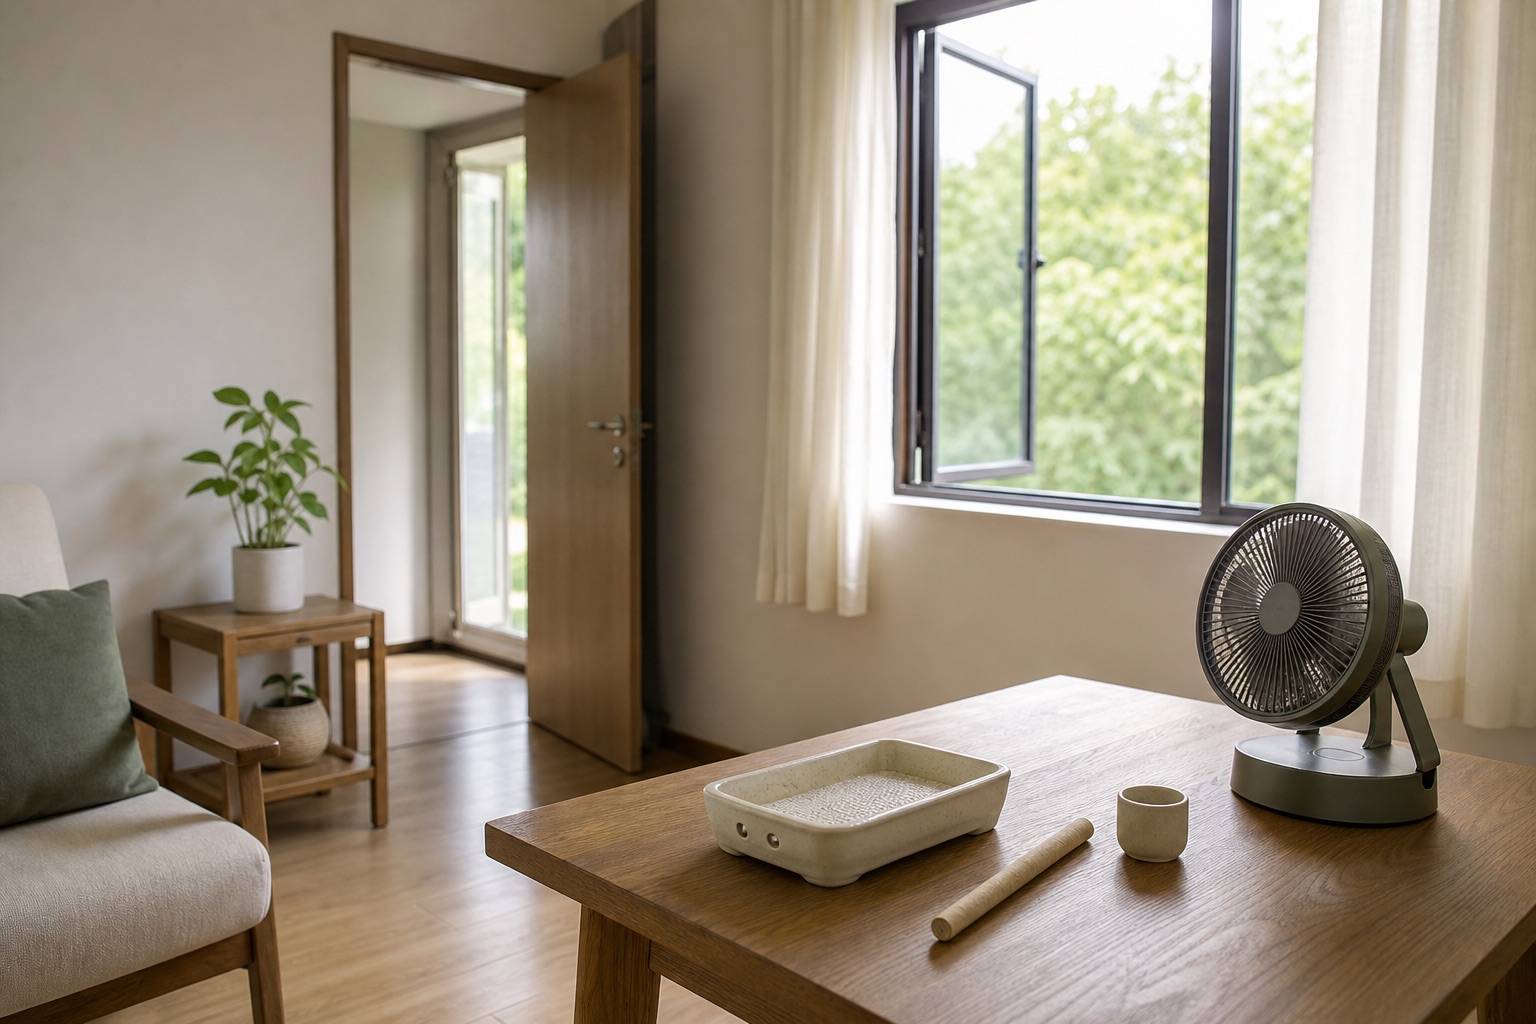
- Is there a window that can stay open during the session?
- Can a door or second opening create a simple cross-breeze?
- Are curtains, bedding, towels, and clothing away from the burning area?
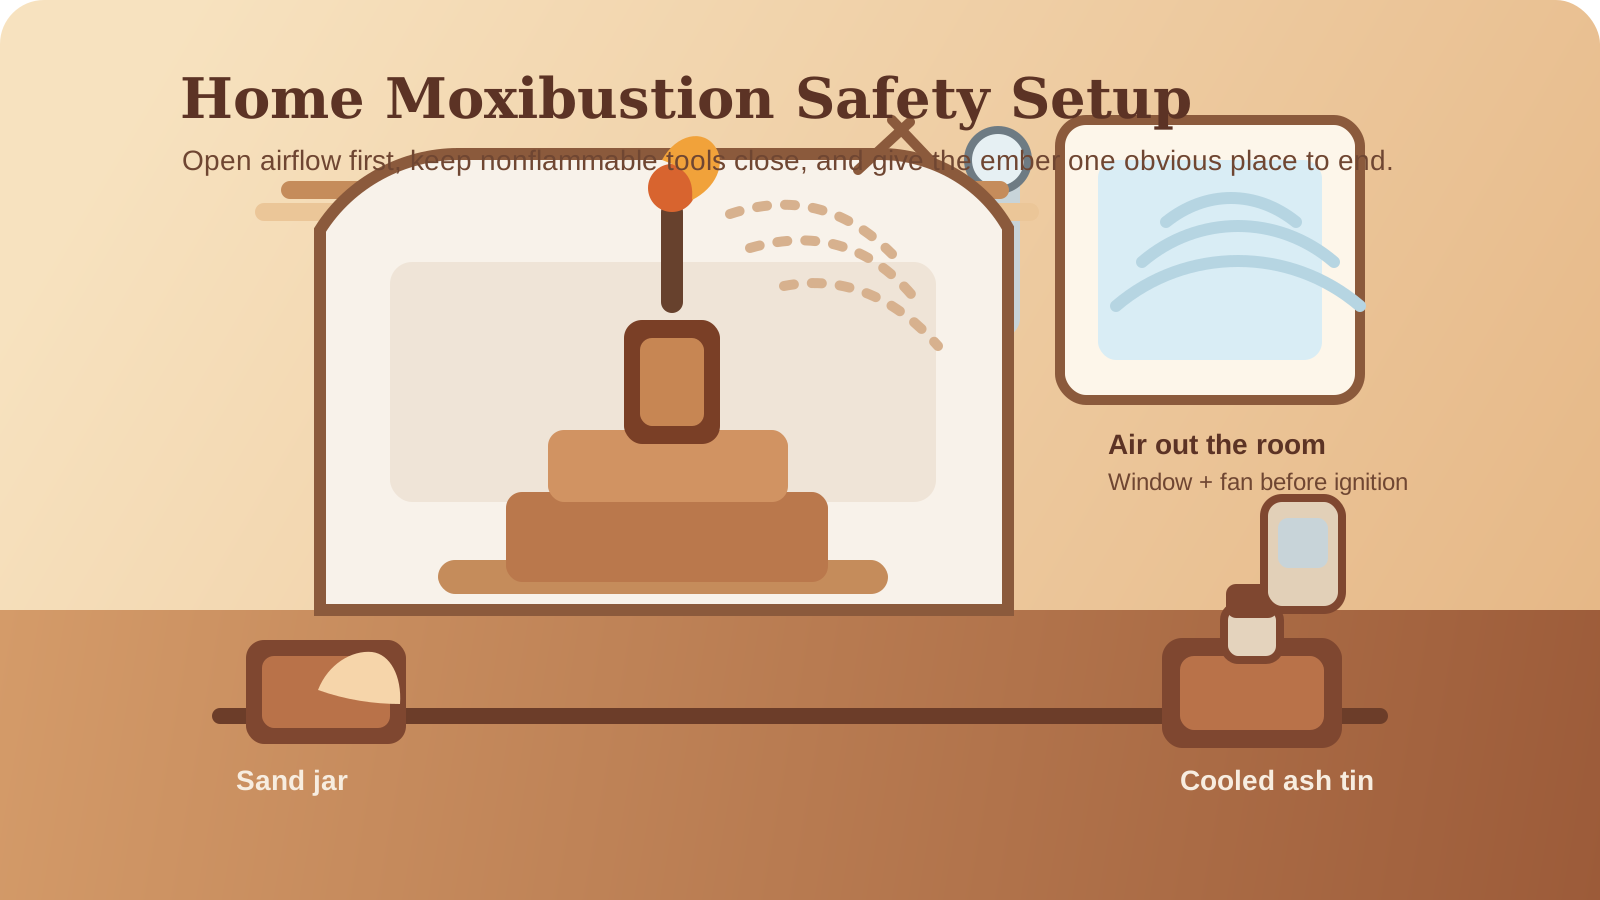
- Is there a stable surface for the holder, ash dish, and extinguisher?
If the answer to most of those questions is no, the easiest way to reduce smoke may be to change rooms rather than change products.
Use airflow to move smoke away from you
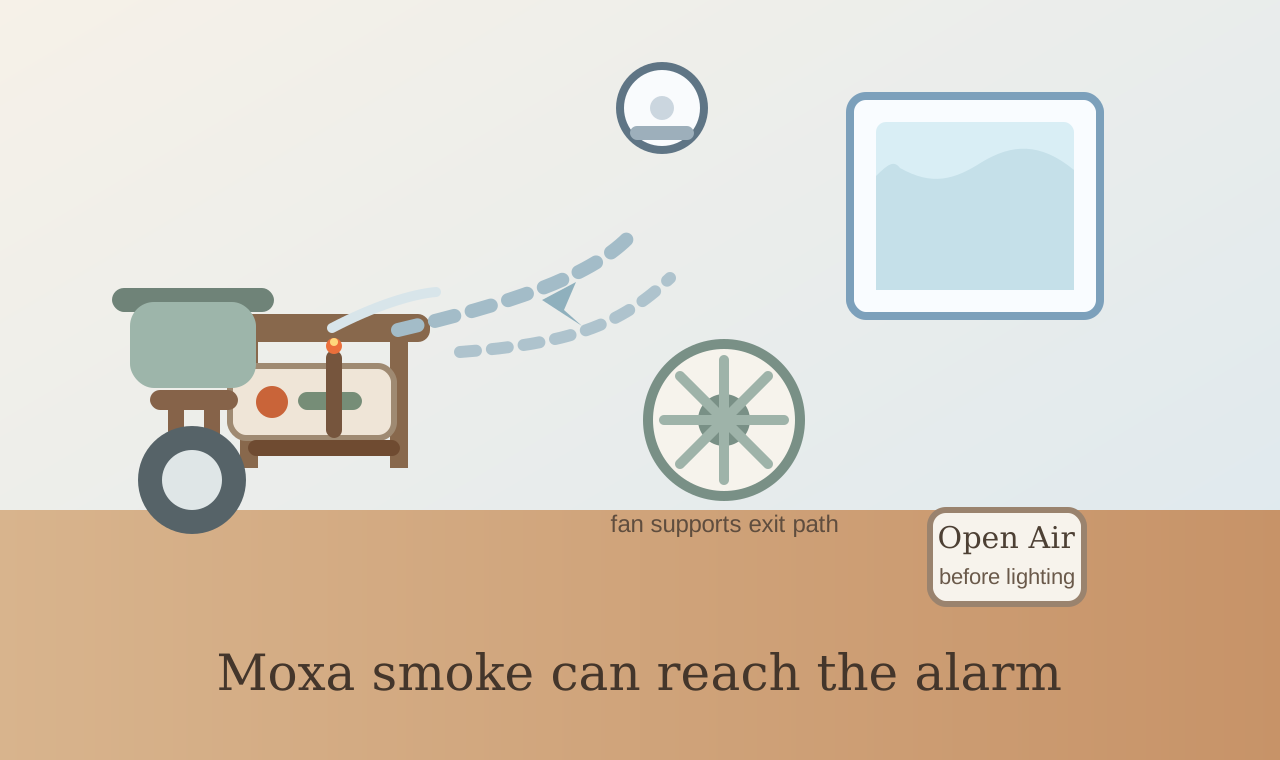
Ventilation should move air out, not swirl smoke around your face. An open window alone may help, but many home users do better when a quiet fan supports the direction of airflow.
The safest general pattern is simple:
- open the main window before you start,
- create a second opening if possible,
- place the fan so smoke travels toward the exit path,
- avoid aiming air directly at the burning tip in a way that scatters ash.
You do not need a dramatic blast of air. Gentle, steady movement is usually easier to control. If the room becomes visibly hazy, ventilation is probably too weak for that session length or tool choice.
Keep the session smaller while you learn the space
Many smoke problems come from using too much moxa for the room. A shorter session is often more useful than trying to rescue an over-smoked space afterward.
Practical ways to scale the session down include:
- start with a shorter burn time,
- avoid lighting more than one stick at a time,
- pause before the room feels stuffy,
- choose a format you can extinguish easily and restart if needed.
This also helps beginners notice how the room responds. A routine that seems fine for five minutes may feel completely different after fifteen.
Choose lower-smoke tools without believing the hype
Traditional and smokeless products behave differently, but neither makes ventilation optional. Smokeless moxa may reduce visible smoke, yet it can still create odor, ash, and indoor residue.
That means “lower smoke” is a useful buying feature, not a license to burn moxa in an enclosed room. If a product listing sounds as if smoke is no longer a real issue, treat that as marketing language rather than a safety fact.
Useful questions to ask instead are:
- Is the product meant for shorter, controlled use?
- Can it be extinguished cleanly?
- Does it fit a stable holder?
- Will the room still need open-air exchange while it is burning?
For comparison shopping, it also helps to read smokeless moxa vs traditional moxa and do moxa sticks smell.
Ash and aftercare affect smoke more than people expect
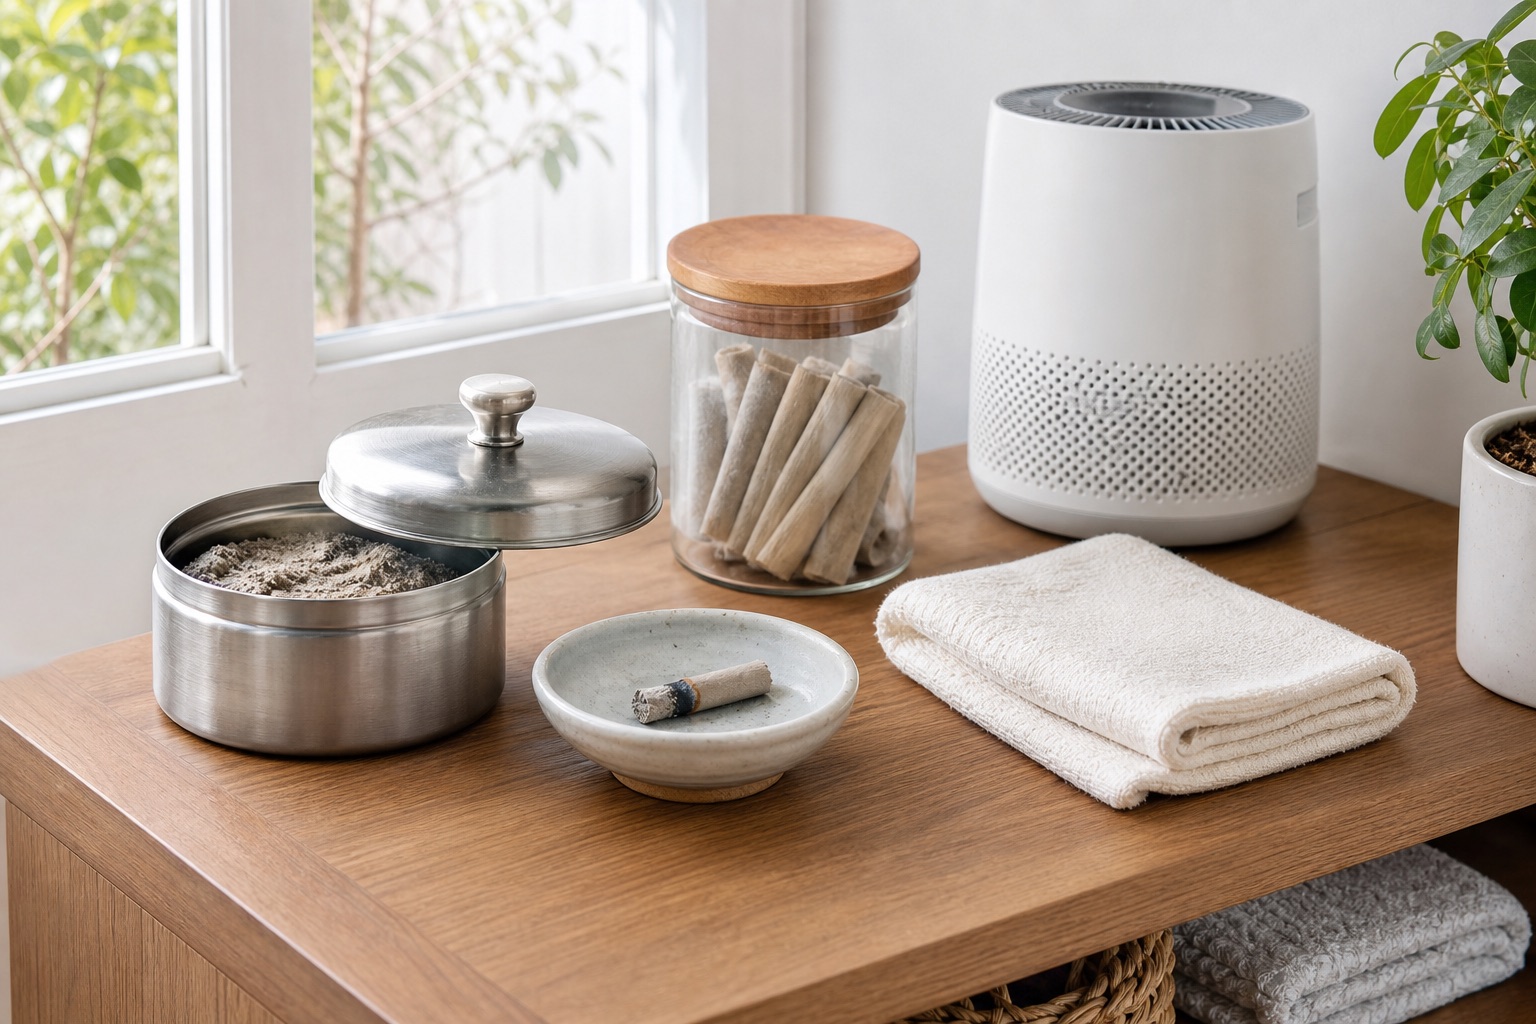
A surprising amount of lingering odor comes after the main use period. Exposed ash, a half-extinguished stick, or a warm holder left on the table can keep releasing smell even after visible smoke has thinned out.
Good aftercare is simple:
- Extinguish the stick fully in sand, a snuffer, or water if the product instructions allow it.
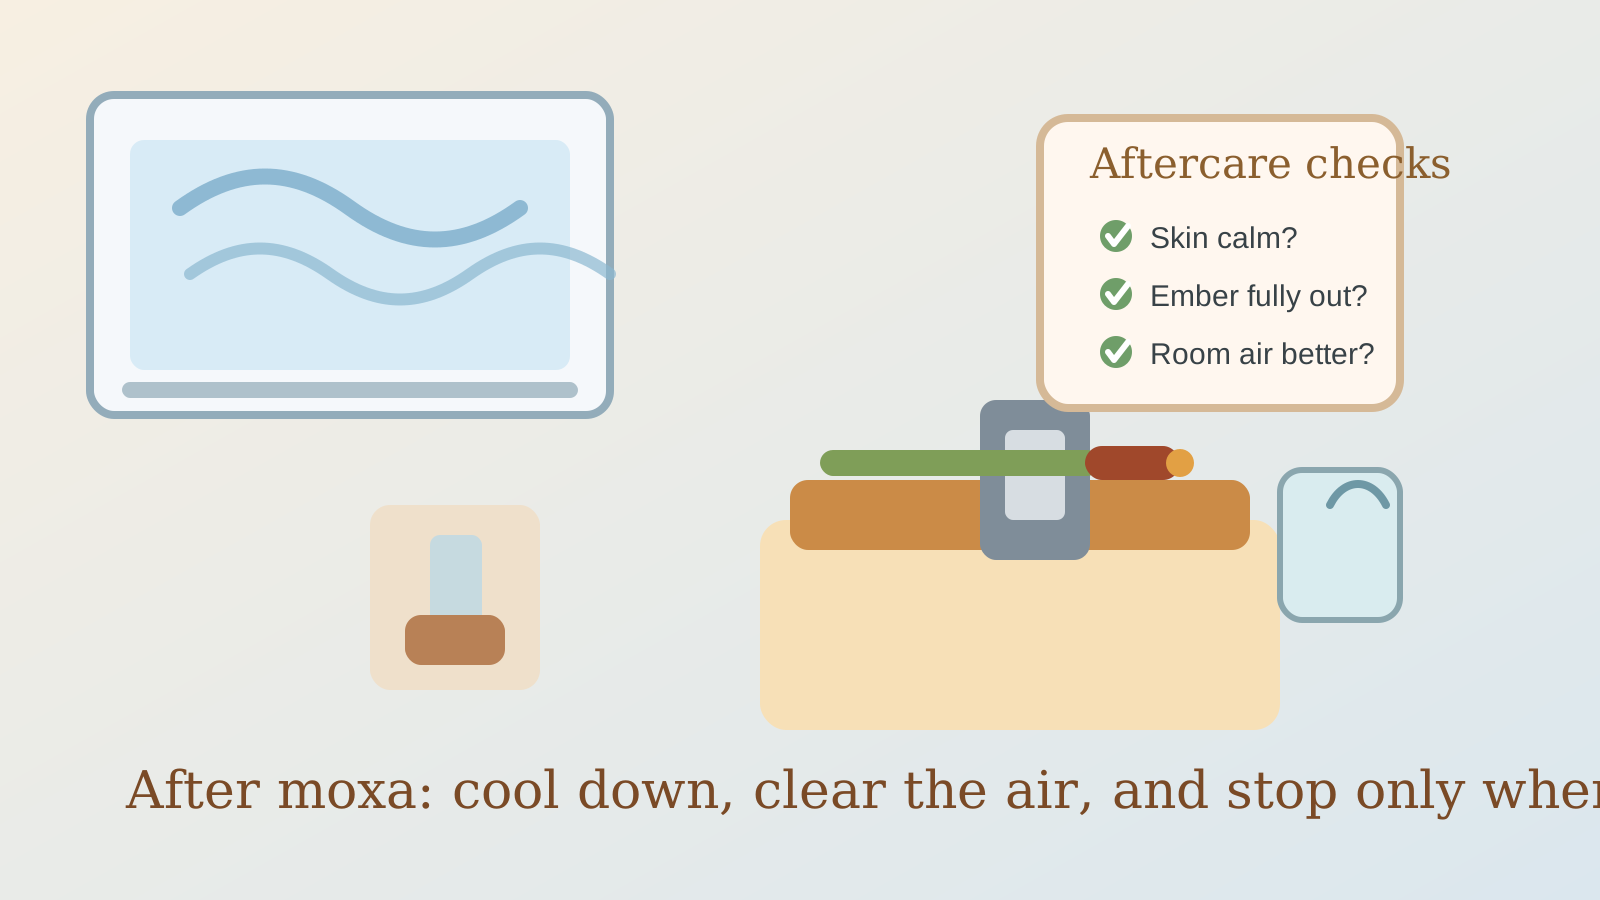
- Let the holder and ash cool safely.
- Move cooled ash into a lidded metal or ceramic container.
- Leave the room ventilated for a while after the session.
- Store unused moxa in a sealed, dry container so the smell does not spread through fabrics or drawers.
Common mistakes that make smoke worse
The most common beginner mistakes are predictable:
- lighting moxa before opening the room,
- choosing a very small room because it feels private,
- placing the setup near curtains or bedding,
- assuming a fan alone replaces ventilation,
- leaving ash exposed after the session,
- pushing through irritation because the smoke “should be manageable.”
None of those mistakes means someone is careless. They usually mean the setup was designed around convenience instead of airflow.
When less smoke still is not good enough
Some situations call for more caution, not better technique. If smoke causes coughing, wheezing, eye irritation, headache, dizziness, nausea, or breathing discomfort, stop the session and move to fresher air.
People with asthma, other respiratory conditions, smoke sensitivity, reduced heat sensation, pregnancy concerns, or unclear health questions should ask a qualified healthcare professional before using burning moxa at home. A lower-smoke setup does not remove those questions.
If you keep needing bigger ventilation workarounds just to tolerate the session, that is useful information. Home moxa may not fit that room, that household, or that person.
A simple rule to remember
The cleanest beginner habit is this: never let the room get smoky in the first place. Once the air already feels heavy, the session was too long, the ventilation was too weak, or the tool choice did not match the space.
For a broader setup checklist, see moxibustion safety basics and how to use moxa sticks at home.
Sources and further reading
- U.S. Environmental Protection Agency: Indoor Pollutants and Sources
- U.S. Environmental Protection Agency: Indoor Air Quality
- PubMed: Safety of moxibustion: a systematic review of case reports
- NCCIH: Traditional Chinese Medicine: What You Need To Know
Common questions
What is the fastest way to reduce moxa smoke indoors?
Set up airflow before lighting the stick by opening a window, giving smoke a clear exit path, and keeping the session short enough that the room never becomes hazy.
Do smokeless moxa sticks solve the smoke problem completely?
No. Smokeless products may reduce visible smoke, but they still create heat, odor, ash, and some indoor air burden.
Should I stop if moxa smoke feels irritating?
Yes. Coughing, eye irritation, headache, dizziness, or breathing discomfort are signs to stop, move to fresh air, and reconsider the setup or whether home moxa is appropriate for you.